4 Tips to Setup an Amazing Nature Aquarium
Let me guess, you love aquascaping and everything it stands for but just haven’t caught the hang of growing aquarium plants yet? You scroll through Instagram daily looking at these densely overgrown but perfectly groomed tanks wondering why my tank doesn’t look this miraculous. Today I am going to be sharing some tips to help accomplish that professional aquascape you have always dreamed of having.
1. Improve Your Tank’s Water Quality
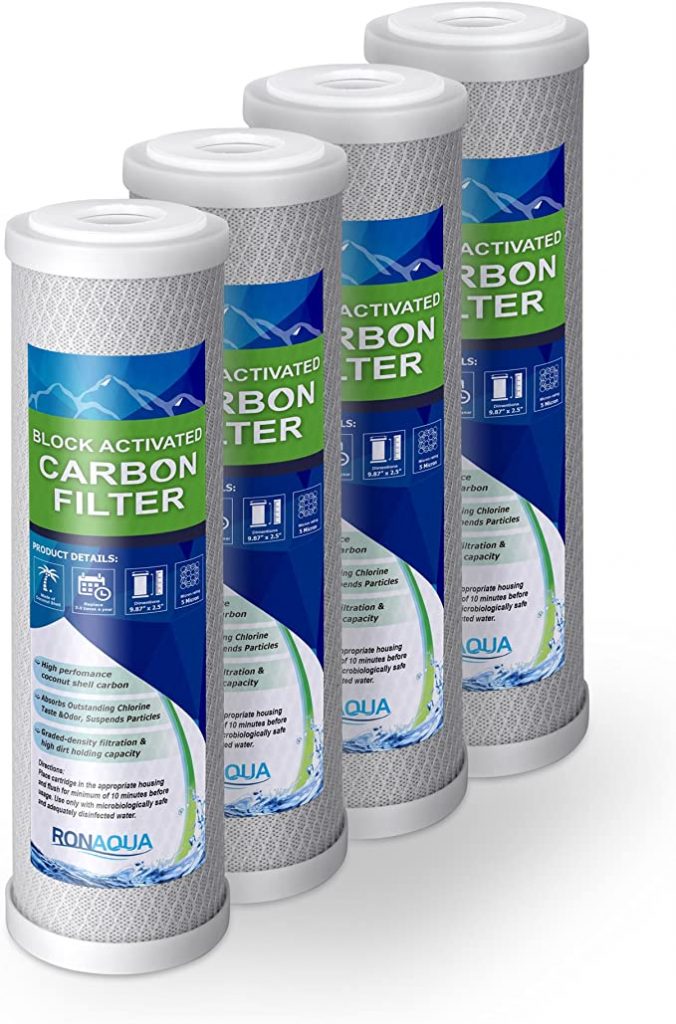
To start off, the quality of your aquarium’s water is going to be the biggest game changer for your aquarium. I don’t think one could count the number of hobbyists that use tap water with a dechlorinating chemical. Yes, you can grow beautiful tanks using this method, but if you want those deep rich reds, thick lush carpets, and dense pearling mosses it’s time to step it up. If you have the space for it, you can purchase an RODI system that purifies your tap water to perfection by removing things such as Nitrates, Chlorine, and Phosphates. I personally do not have the space for this type of system and use a water purification system from Lowes that cost me thirty dollars said and done. This filter does not remove everything from the water as an RODI system would but it does remove the majority.
When performing my water changes, I make sure to correctly match my new water’s temperature to the existing tank’s temperature. This will keep livestock from going into shock and dying. Prior to unplugging all equipment from the tank and draining thirty to forty percent of the water, I like to fill a pitcher with my fertilizers of choice then fill the rest of the pitcher with water. This will allow for the chemicals to break down while you are trimming plants, scrubbing glass, and draining the tank. Once the tank has been maintenance and filled with the correct temperature water, you can slowly add your chemicals into the tank, keeping the livestock from suffocating.
I recommend a 30 – 40% water change 2 -3 times a week for growing aquarium plants properly. This will keep detritus and excess nutrients down to a minimum, promoting a healthier environment for the fish and aquatic plants.
2. Give Aquarium Plants What They Need to Grow
Now that your tank’s water quality has reached its potential we can talk about nutrients and Co2. When setting up your aquascape consider your substrate as the basis for your aquatic plant’s nutrients. The majority of your plant’s needed nutrients will be absorbed through their root system. This is why you need to pick a substrate rich with beneficial nutrients but make sure that it will not spike the tank’s PH.
The rest of the plant’s nutrients will be absorbed through the water column; this is why hobbyist add fertilizers to their water. When dosing fertilizers to the tank I recommend dosing 3/4 of the instructed amount for each water change. This will help prevent tanks from having an excess amount of nutrients in the water column, decreasing the chances of having a bacterial bloom. Another quick tip to keeping excess nutrients down is to feed your livestock only what they can consume in a few minutes. Each piece of uneaten food becomes waste leading to the promotion of algae growth. One very consistent way to keep algae blooms down in a tank is to inject Co2.
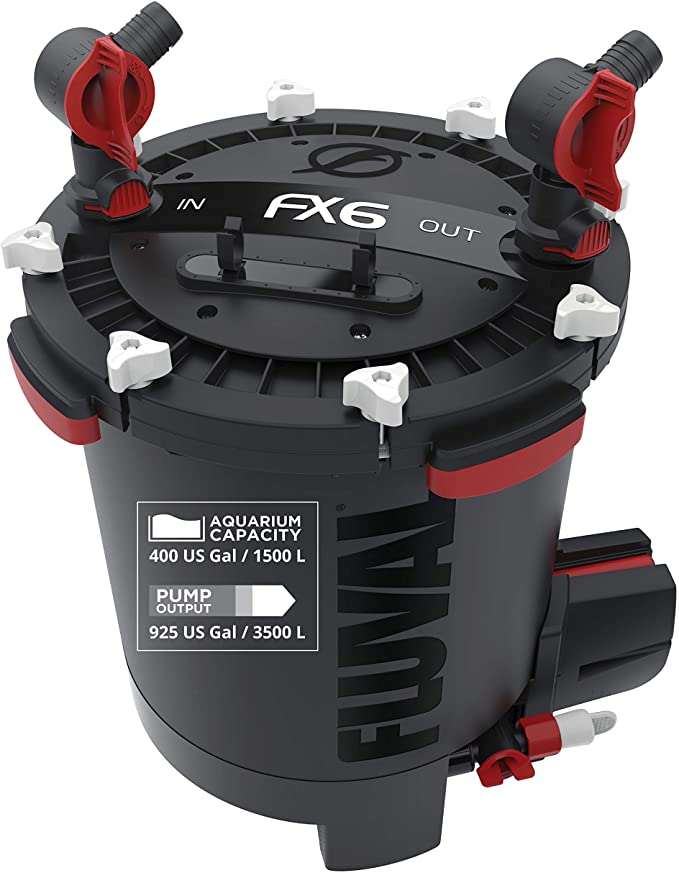
So what does this tell us? It’s not really all based on percentage. You must consider your filtration, stocking levels, and feeding habits. Me personally, I have 10 adult Discus in a 100-gallon tank and I am using a Fluval FX6 Cannister Filter. I have found that what works best for me is doing 70% water changes every other day.
Using Co2 for Growing Aquarium Plants
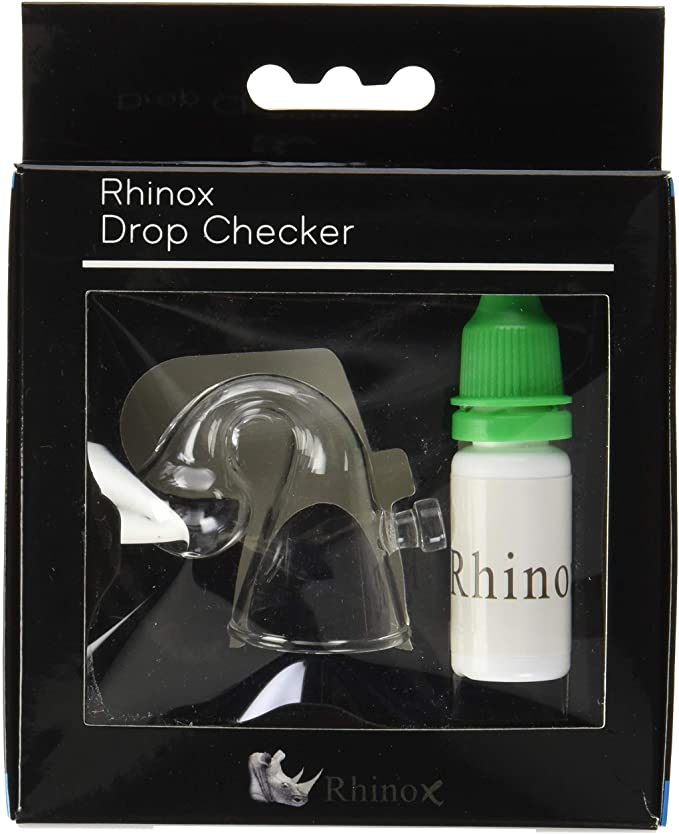
Co2 can seem like a daunting task when in reality it is a very simple step to ensure beautiful plant growth. Yes, there are numerous forums and debates on everything you can do with Co2, but in my experience, I have learned to keep everything simple. My 33 gallon aquarium in this article is running off of an oversized Co2 tank, coming in at 25lbs. I plan to use this tank for other projects in the future, explaining the larger size.I would recommend using a five to ten pound Co2 tank for an aquarium of this size. Alongside with a high-quality electric solenoid to regulate your daily Co2 usage and a drop checker to monitor the levels of Co2 in the water column.
My Co2 setup consists of a tank, regulator, check valve, bubble counter, and a diffuser. I have had my share of experience with diy Co2 and Co2 reactors and will go ahead and save you the effort, DON’T DO IT! Save up and buy the proper equipment for the easiest most accurate results. I am not saying other methods will not work or that this is the best way to inject Co2 into your aquarium but it has been the least troublesome in my experience.
Using a Drop Checker
Now that we have all of our Co2 equipment ready to go you will need to understand a little more about it. First off, DO NOT crank it to max and think everything is going to be great from here on out, FISH DO NOT LIKE EXCESS CO2. This is where our nifty drop checker comes in and saves us from suffocating our fish. These drop checkers are inexpensive and will save your butt in the long run. The drop checkers are filled with a solution that changes in color with your tank’s Co2 level.
Start your tank off with a bubble or two for an hour to see how much Co2 is being diffused into the tank. After an hour, glance over at the drop checker and see what color it is. Lower amounts of Co2 will appear as blue in and higher more deadly amounts will be yellow. You want your checker to have a deep green color.
3. Proper Lighting for Growing Aquarium Plants
The last two topics I will be covering today will consist of aquarium lighting and filtration. When running a tank with Co2, I start my lights on a lower intensity for only 5 -6 hours. Then every few weeks I begin to up the light’s intensity by 10% and add an extra hour. My current lights are intended for a much larger tank and run at 50% of there maximum power. This tank has been running for five months now and has a light duration of eight hours. These eight hours of light at 50% intensity has proved to be the most beneficial for this set up.

Lights in Use: Black Box RGB Reef Lights
Comparable Brand: Roleadro
4. Improve Filtration
Filtration comes in many varieties but only one has done the job for properly growing aquarium plants, a canister filter. I have and still use hang on the back filters along with bubble filters but only when needed. I recommend using a canister filter rated for twice the size of your tank; this will give it the proper filtration and maximum flow. Inside of the canisters, I keep it simple by using filter floss and a bag of Purigen. The plants in my tank do the majority of biological filtration while the canister collects and removes debris. The filter floss is used to mechanically filter out detritus while the Purigen keeps my water crystal clear. The filter maintenance consists of new filter floss and a deep scrub with hot water every three to five months.
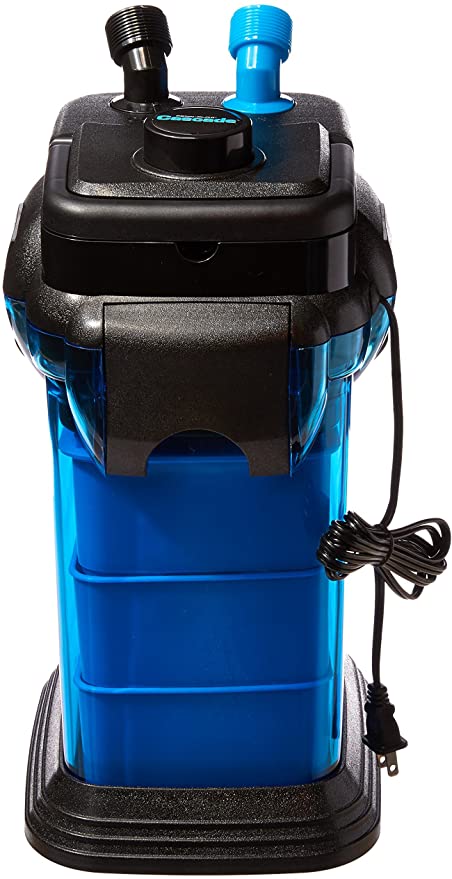
Filter in use: Cascade 1000
Tip: Do not use active carbon inside of your filters when using live aquatic plants. The carbon does not harm the plants but it does slow their growth by filtering out some necessary trace elements.



Add comment