Setting Up a Nano Tank: A Betta Pond Style Aquarium
Deciding on a Pond Style Aquarium
Setting up a nano tank with terrestrial and aquatic plants was going to be a challenge. But since I took up the aquarium hobby, I have never backed away from trying new things. From difficult fish with strict requirements, to delicate plants in high-tech aquariums… I’m always looking to dive head first into new niches of this hobby. Pond-style aquariums have long piqued my interest because of their uniquely aesthetic appeal and variety of plant life. These aquariums feature two components in their builds:
- The underwater garden
- The terrestrial/bog garden with plants growing above water
After months of pining after the beautiful images of ponds on Instagram, I finally decided to give it a try but with a twist – it was to be a nano tank much smaller than your average pond aquarium. In this article, I will walk you through how I set up my latest nano tank, a 3 gallon nano-pond I named Cliffs of Leor. Before we get started, here are all the functional components of this setup:
Equipment Used


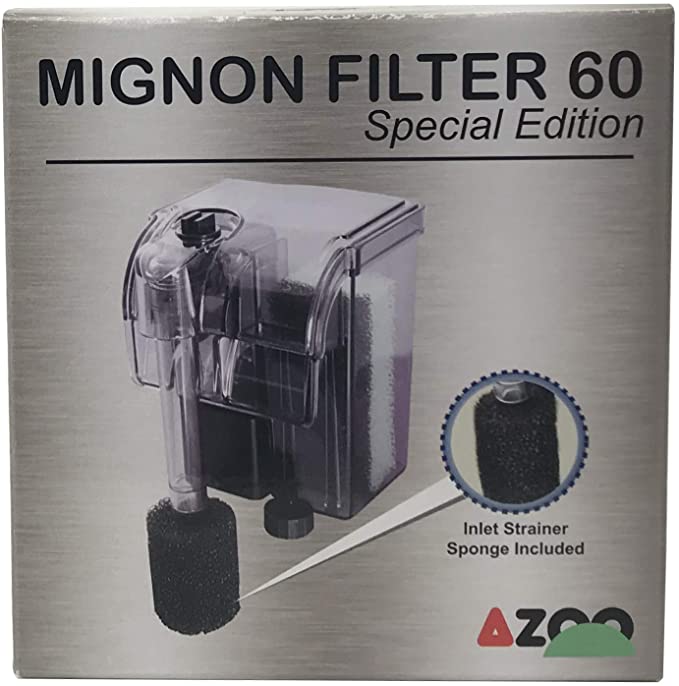
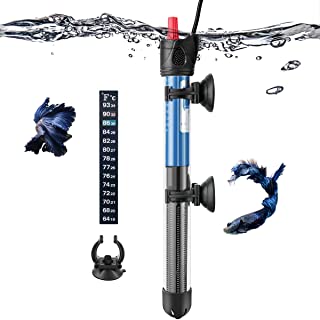
Selecting Hardscape and Substrate
When I first start a project, I tend to tally up the cost in my head and find reasonable ways to make my build budget-friendly. I’ll admit, I do like to spend a good chunk of my money on this hobby but I also like to get crafty with finding aquascape supplies at places other than your average, over-priced fish store. One of my favorite secrets is a local rock supply store. You can find a huge selection of rocks for only a few cents per pound.

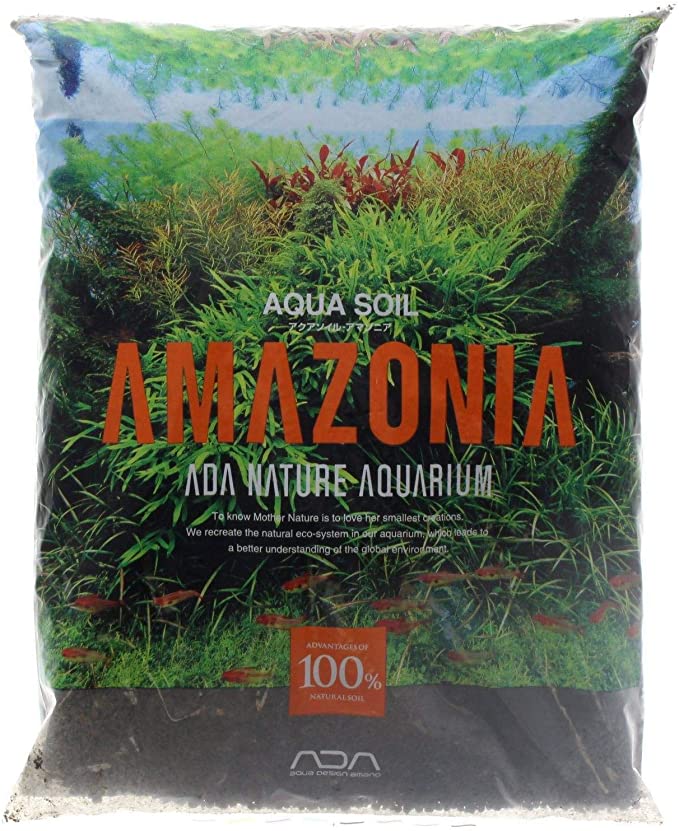
I was able to pick out some beautiful basalt rock stones to create the bank of the pond, some fine-grain sand as a cosmetic substrate, black lava rock for structural support, and multi-colored pebbles as accents. I had some ADA Amazonia Aqua Soil from prior projects that also served me in this project. All this totaled to about $1.30 for my hardscape. Not bad.
Selecting Plants
With the hardscape materials ready, it was time to pick out the plants! The most difficult portion of this was deciding which plants would go for the terrestrial portion of the pond. Unlike many aquatic plants that grow underwater, I wanted plants which only grew above water (terrestrial plants). I had little to no experience with plants that thrive in the wet, mushy environment of a pond bank so I had to do a little research. There are many pond plant websites with lots of information on which plants do best in a nutrient-rich and wet environment. I made sure that I bought plants that could stand some submersion at the base, but it is important to note that not all of them do!
After much research and internet browsing, I chose: Variegated Water Celery, Dwarf Bamboo, and Star Grass. I also chose some aquatic and floating plants for the underwater garden: Hydrocotyle Tripartita, Monte-Carlo, Pearlweed, Bucephalandra Sintang, Anubias Nana Petite, emersed Ludwigias and Rotala.
Setting Up a Nano Tank
To start building the pond, I used basalt and lava rocks as the main frame of the pond bank, or cliffs. The (larger) basalt rocks were stacked on top of each other with smaller lava rocks to hold the delicate balances in place. This divided the tank into two pieces: one about two thirds of the length for open swimming space and the other third for the bog/pond plants.
It took some playing around but the final structure was very stable and gave me ample space to build out the other features. The smaller space was filled in with lava rock as the bottom layer to allow for flow and stability. Next, I topped it off the lava rock with a thick layer of aqua soil. Any holes in the pond bank with soil spilling out were plugged with lava rock. Next, I added sand to the rest of the tank and sprinkled the pebbles for a little pop of color.
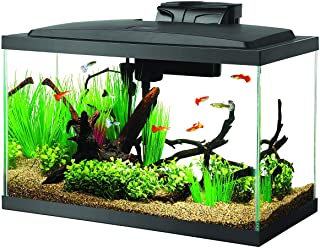
Planting the tank was the most difficult part of the setup. My goal was to fill in the little crevices of the rocks with plants. It took some effort to plant where I could find exposed soil or tight crevices. As for the terrestrial pond plants, I had to wash the soil off to expose the roots then replanted them in the aqua soil. I left a small space between the cliffs and the soil so I could add some plants and moss. Hopefully, this proves to add some nice detail as it grows in. After I filled the tank, I made sure to betta-proof it by adding pebbles to any tight spots he could get stuck in.
Setting Up a Nano Tank (Conclusion)
Everything seems to be doing very well since the initial setup! Lots of plant growth and a very happy betta. It has quickly become one of my favorite setups as the bog garden adds such different aesthetics compared to the rest of my tanks. Naturally, many tweaks and adjustments have been made. It’s the constant progress we make in this hobby that keeps us entertained! I hope this setup has inspired you to try something new!



Add comment